Modern GunPla kits are snap-fit, no-glue kits. The assembly procedure exploits the mechanical-property pairing described in Section 4: HIPS pegs interfere with LLDPE polycap sockets to make the joints, and HIPS-on-HIPS cantilever snap-fits hold the armor halves together. The Bandai engineers ensure that the kit only assembles in one direction, that the snap-fits engage with predictable click forces and an audible click, and that the polycap-and-peg fit is repeatable across thousands of mold cycles. While complex, a GunPla kit is surprisingly easy to build right out of the box.
7. How to Assemble Gundam Model Kits
7.1 The Build, in One Sentence
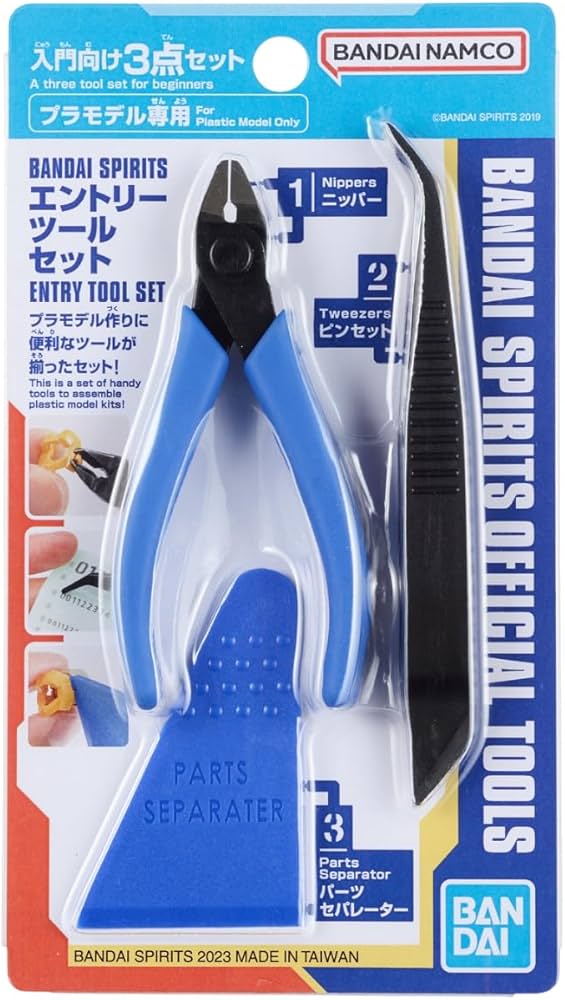
7.2 Recommended Tools
A pair of thin flush-cut nippers (preferably single-bevel) for cutting parts free of the runner; a hobby knife with a #11 blade for nub removal; optionally fine sandpaper (#400–#1000) for cleaning visible surfaces; a cutting mat to keep small parts from rolling away. Glue is not used. Paint is optional.
7.3 Two-Stage Cutting
Each part is cut from its runner using a two-stage cut: first a coarse cut several millimeters from the part to relieve stress, then a flush cut at the gate. Two-stage cutting reduces the white stress mark caused by polystyrene crazing at the cut edge, which occurs as a direct consequence of HIPS being a notch-sensitive amorphous polymer. Cutting flush in one pass concentrates strain at the gate base and triggers visible crazing.
7.4 Polycap Insertion and Snap-Fit Closure
Polyethylene polycaps from PC7 are pressed into the recessed sockets of HIPS armor halves before the halves are joined. Because polyethylene is more compliant than HIPS, the polycap deforms elastically into the socket; once seated, it cannot be easily removed.
Most armor parts are split into a left and a right half that join along a centerline. Each half has a cantilever snap feature (a peg with a barbed undercut) that deflects elastically as it enters the mating socket then springs back to lock. HIPS designers taper the cantilever toward the tip to even out strain distribution and avoid root-fracture during repeated assembly.
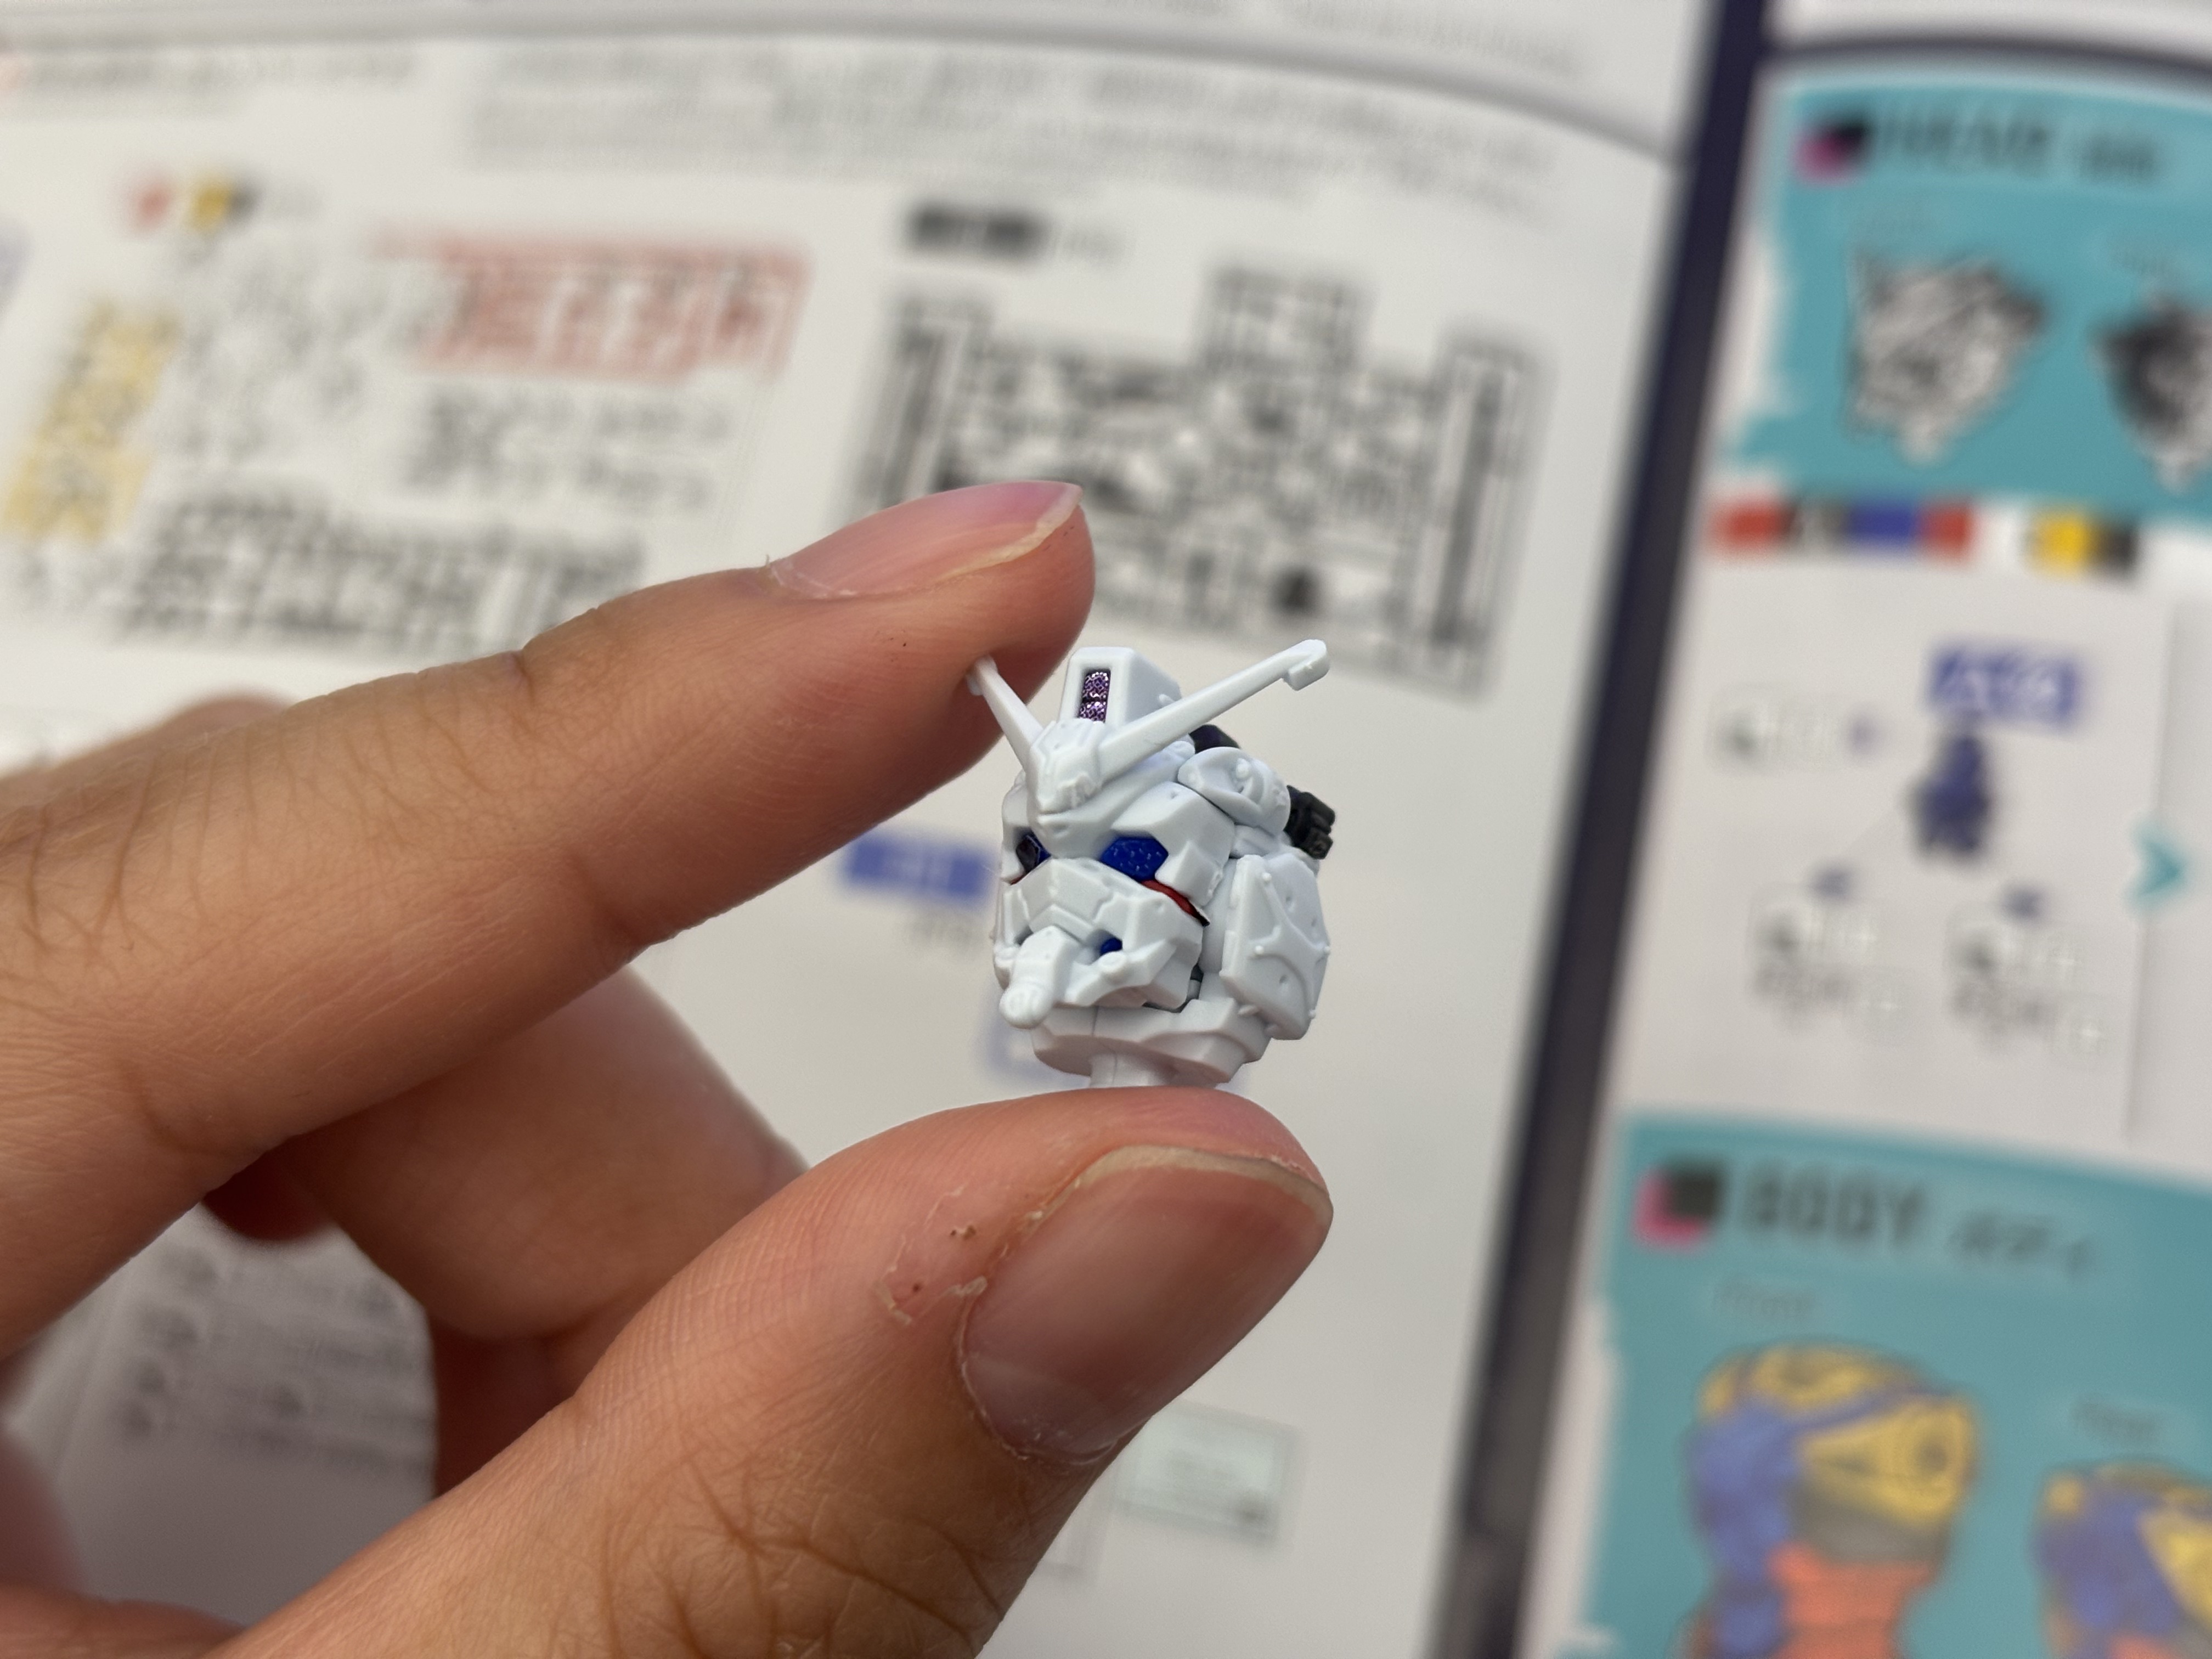
7.5 Sub-Assembly Chaining
Sub-assemblies (head, torso, arms, legs, backpack/wings, weapons) are joined via polycap joints in the order specified by the manual. The polycap joints provide post-assembly articulation: rotation, pivot, and ball-and-socket motion as appropriate to each location.

7.6 Decals and Panel Lining
Gunpla kits usually include stickers, marking seals, or water-slide decals that are applied during or after the build to add color, warning labels, faction symbols, and small mechanical details. On simpler High Grade kits, stickers often replace missing plastic color separation, so they may cover larger areas such as cameras, vents, or accent panels. On more detailed Master Grade kits, decals are more often used as surface markings that make the model look more like a real machine, rather than as substitutes for molded detail. Applying them takes patience: stickers need to be aligned carefully before pressing down, while water-slide decals are soaked, slid into place, adjusted with a cotton swab or hobby tool, and then sealed with a topcoat if the builder wants them to last.